
You know how your zip code is very important for all sorts of billing and delivery stuff but you never remember what it is? Well, the same is kind of true about your computer or device’s MAC address too. It’s basically a long string of numbers and letters that serves as a unique identity and address. While it’s not immediately obvious where it is, finding your MAC address is quite simple. This short tutorial will tell you how to find your MAC address on Windows 10 using simple steps explained in plain English. There’s also a cheat code for bypassing the entire thing at the end of the page. The Overview is about what a MAC address is and why you may need it, so feel free to skip right to the instructions if you’re in a hurry.
Overview
Your Media Access Control (MAC) address is a method for uniquely identifying a device on WiFi, Ethernet, and Bluetooth networks. It is commonly assigned to your device’s Network Interface Controller, meaning the hardware responsible for getting your device connected to the Internet. MAC addresses are similar to IP addresses: they’re both unique identifiers used to refer to specific devices on the network. But unlike an IP address, your MAC is provided by the hardware manufacturer and usually stays the same no matter what WiFi you use. Plus, using a MAC address is a bit more secure since others can’t easily see your MAC address.
Normally, you won’t need to know your MAC address for everyday tasks like connecting to the Internet. But you may, for example, need to connect to a WiFi that uses MAC filtering to improve security. For those rare but important times you need it, here’s a tutorial on how to get your MAC address on Windows 10.
Instructions
Find Your MAC Address Using Command Prompt
This is the quickest way to get your MAC address in Windows 10. It may seem a bit intimidating if you’re not used to working with command lines but it’s actually quite simple. First, we need to start Command Prompt, Windows’s built-in Command Line Interface.
Step 1: Launch the command prompt
To start up the Command Prompt, you can either use the Run box or the Start menu.
To use the Run box:
Press WIN-KEY + R (or open it from the Start menu by searching for “run”)
Once the Application Launcher box pops up, enter cmd and press <Enter>
To use the Start menu:
Use the Start menu or the search bar
Search for Command Prompt and click on the top-most result
Step 2: Use IPConfig to get teh MAC address
Using either of these ways should get you the Windows Command Prompt, a small window that should look something like this:
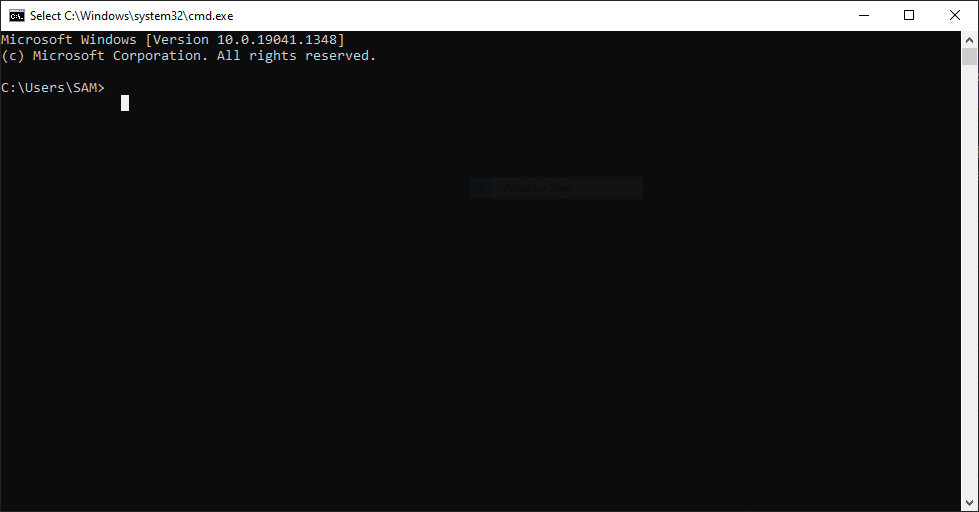
Now, to get your MAC address, we are going to use ipconfig, a command that lets you control some basic aspects of your network. For that, you need to carefully enter the following command into the Command Prompt:
ipconfig /all
You can also just copy-and-paste it right into the Command Prompt. That way, you’ll be sure there are no typing mistakes.
If all goes well, you will see a bunch of text displaying detailed info about your network configuration. Your MAC will be listed under “Physical Address,” so focus on finding that and ignore all the other info. There will be a long string of numbers and letters in front of “Physical Address,” looking like this (of course, your MAC address will be different from the one here):
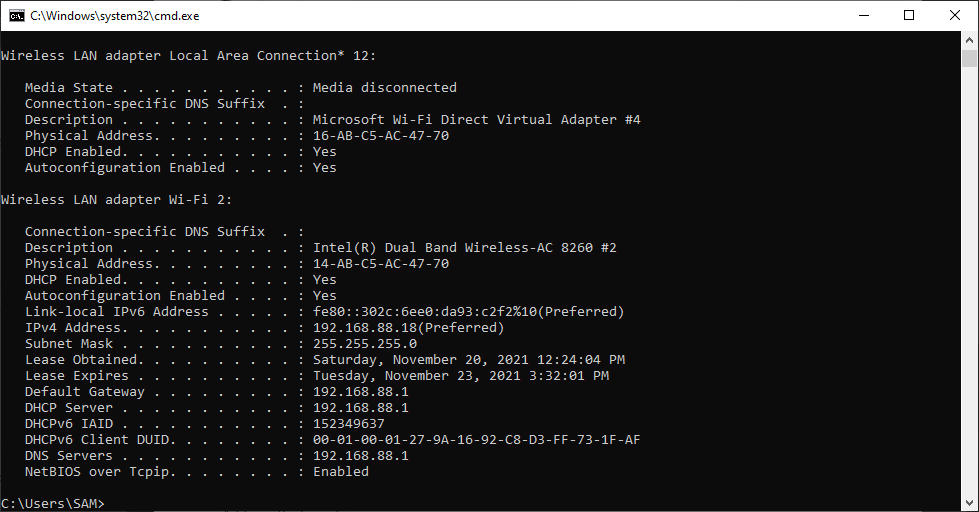
You can write it down or make things easy and just copy-and-paste it anywhere you need. That’s it for the Command Prompt method. Now, let’s see how we can do the same using Network Settings.
Find Your MAC Address Using Network Settings
Using Network Settings will be easier if you’re used to the Windows GUI and don’t want to muck around in bleak CLI-space. It has a few extra steps but it may be more familiar, so here goes:
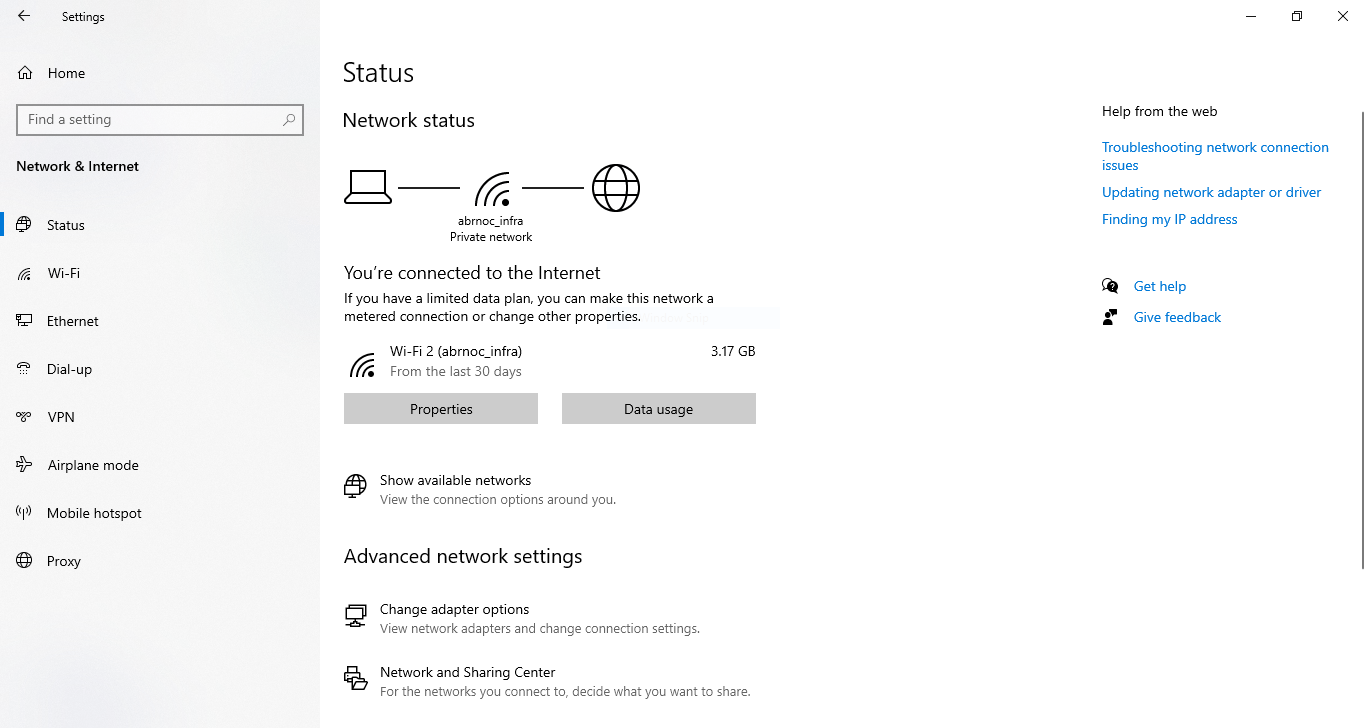
Step 1: Open the Network and Internet Settings
First, we have to bring up Network Settings, of course. Find and click on the Network icon in the taskbar, at the bottom right of the screen (usually). Found it? Here’s a hint: it’s the same icon you always use to connect to your WiFi. After clicking on it, select Network and Internet Settings and a screen like this one will appear:
Step 2: Open on your WiFi settings
On the window that just popped up, find and click on Network and Sharing Center. You should be able to find it at the bottom of the screen. Now, on the new screen, find the connection you’re currently using. If you’re using your home WiFi, for example, it will have the same name. Click on it to get to the last step.
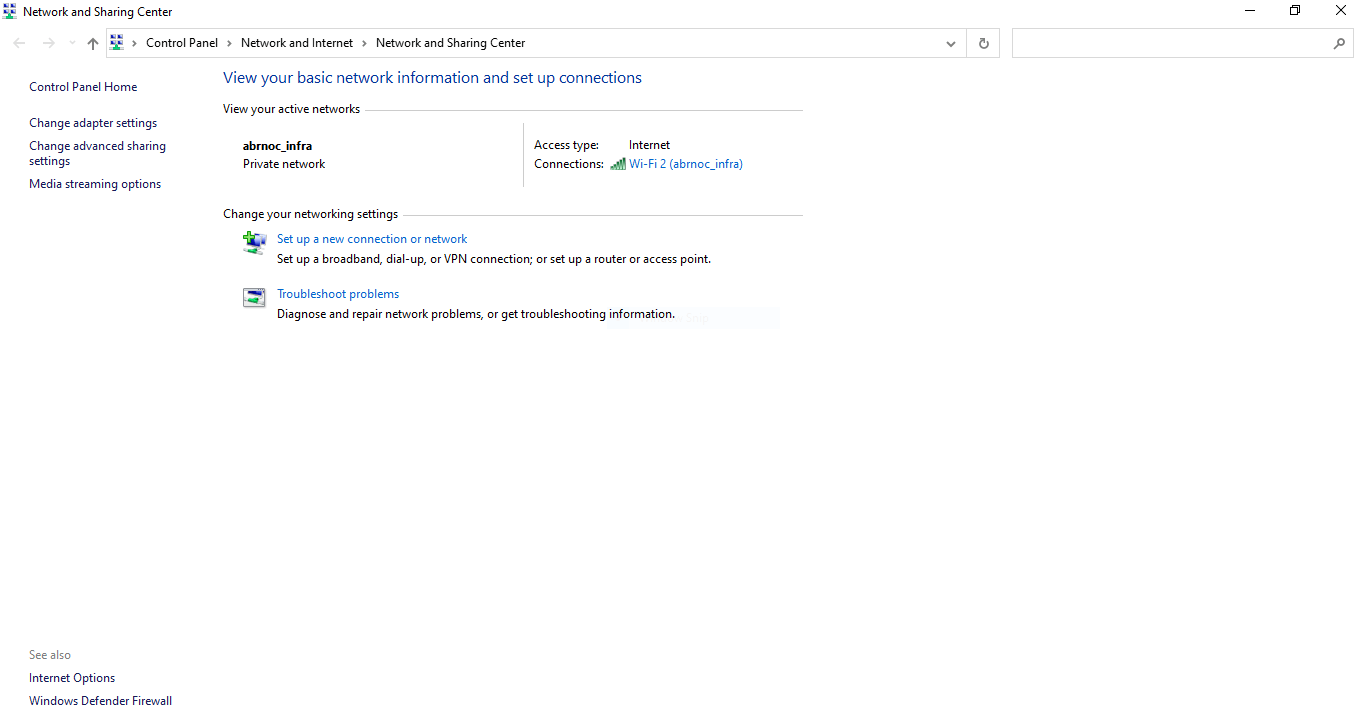
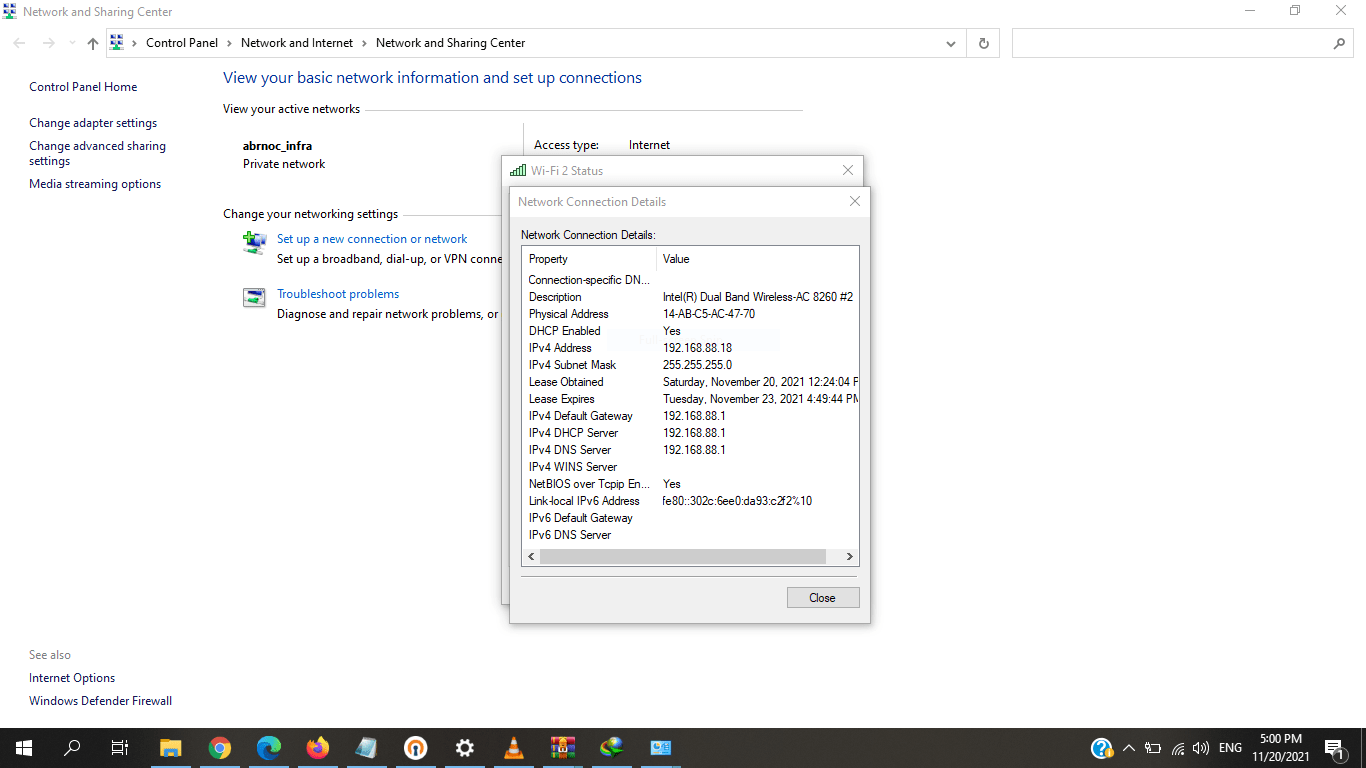
Step 3: Get MAC address from the Details screen
Once you click on your connection, a WiFi status or properties window will greet you. Click on the Details button to get the details on your WiFi, including your MAC, which should be listed fourth from the top, under Physical Address. Again, you can either write it down or just copy-and-paste it where you need.
What Next?
That’s that! Now you know how to find MAC address Windows 10. So, what now? It’s probably a good time to start checking out ways to improve your connection security. There are different ways to secure your connection using MAC addresses and you should try some of them whenever you have the time.
Get yourself an efficient Windows 10 VPS for remote desktop, at the cheapest price out there. FREE Windows 10 running on NVMe SSD storage and high-speed internet. Windows 10 VPS Hosting
At the beginning of the tutorial we promised a cheat code to bypass the entire process and now is the time to deliver. Instead of going through confusing configurations and time-consuming security measures, why not just leave things to us? Get a VPS and keep your work and important files private, safe, and secure. A VPS is an affordable but secure type of hosting that’s ideal for individual uses and small scale businesses. You can use your VPS to host websites or to simply access your most important files at any time with Cloudzy’s reliable, high-uptime VPS hosting solutions.


0 Comment